 Hatch Add Define Polygon ( Drawing Editor > h d )
Tool summary :
Also see :
|
- Drawing Editor (where you can add a hatch)
- Hatches & fills (topic)
- Hatch Add Select Polygon (alternative method for adding hatches)
- Hatch Add (window with settings for a hatch or fill)
- Hatches/Fills ( Display Options )
- Polygon sides (polygons created with this tool are composed of)
Adding a hatch pattern to a user-defined polygon :
You can use Hatch Add Define Polygon to add a hatch or fill to a shape that you define. You can define that shape by using the method defined in step 2, alternative 1 (drawing an area box) or step 2, alternative 2 (locating points).

|
1 . Invoke Hatch Add Define Polygon . Go to step 2, alternative 1 or alternative 2. |
|
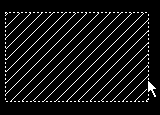
2 (alternative 1) . Drag your mouse pointer ( |
|
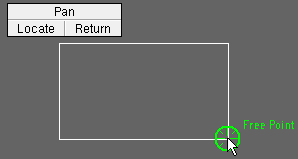
2 (alternative 2) . Left-click ( Locate ) points to draw a shape. In this example, Free Point and On Line are used for point location. Corner Rounding is optional. Right-click ( Return ) when you are done locating points. Hatch Add closes the polygon by connecting the last located point to the 1st point. Go to step 3. |
|
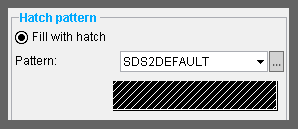
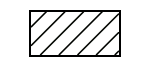
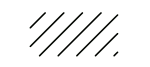
3 . The Hatch Add window opens. Specify the hatch pattern or solid color that you want to fill the polygon. Press " OK " to continue. |
|
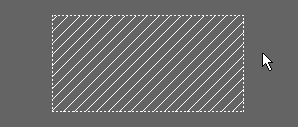
4 . Hatch Add fills the polygon that you defined in step 2 (alternative 1 or alternative 2) with the hatch pattern or solid color that you specified in step 3. |
Note 1: To invoke Hatch Add Define Polygon :
▸ Click the Hatch Add Define Polygon icon. The icon can be taken from the group named ' Objects -- Hatch ' and placed on the ribbon.
▸ Hatch Add Define Polygon can also be invoked using a keyboard shortcut or the context menu.
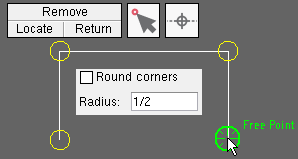
Note 2: The Corner Rounding options (step 2, alternative 2) remain available throughout a polygon layout operation, allowing you to define different radiuses for different corners, or to turn corner rounding on or off for different corners.
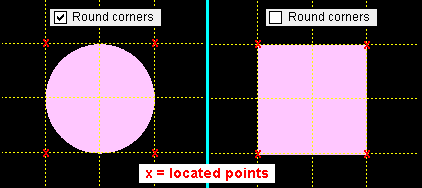
Two fills added using Hatch Add Define Polygon . Corner rounding was turned on for the left example. The radius for corner rounding was 1/2 the distance of any side of the square, which thus resulted in a circle. Note 3: The defined polygon shape that is created using the above procedure is composed of polygon sides . You can edit them and, for example, change their " Pen color " (stroke thickness) and " Line type ."
Note 4: A defined polygon shape added using Hatch Add Define Polygon can be adjusted as shown below:
With the selection filter set to '' Default : 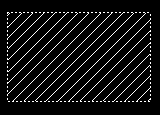
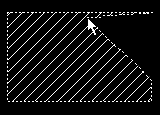
1 . The defined polygon shape is rectangular. 2 . Click a polygon side to add a new point. 3 . Drag the point in any direction to change the shape of the polygon. Note 5: A defined polygon shape added using Hatch Add Define Polygon can optionally be not printed. See " Plot defined polygon " on the Hatch Edit window.
Plot defined polygon
Plot defined polygon
To delete hatches or fills, Hatch Erase and Hatch Erase All can be used. With the selection filter set to ' Hatches ', you can select a hatch (independent of its containing polygon) and press the Delete key. For hatches added using Hatch Add Define Polygon , deleting the hatch also deletes the defined polygon.

